Download
3D Flyover
Add to list
More
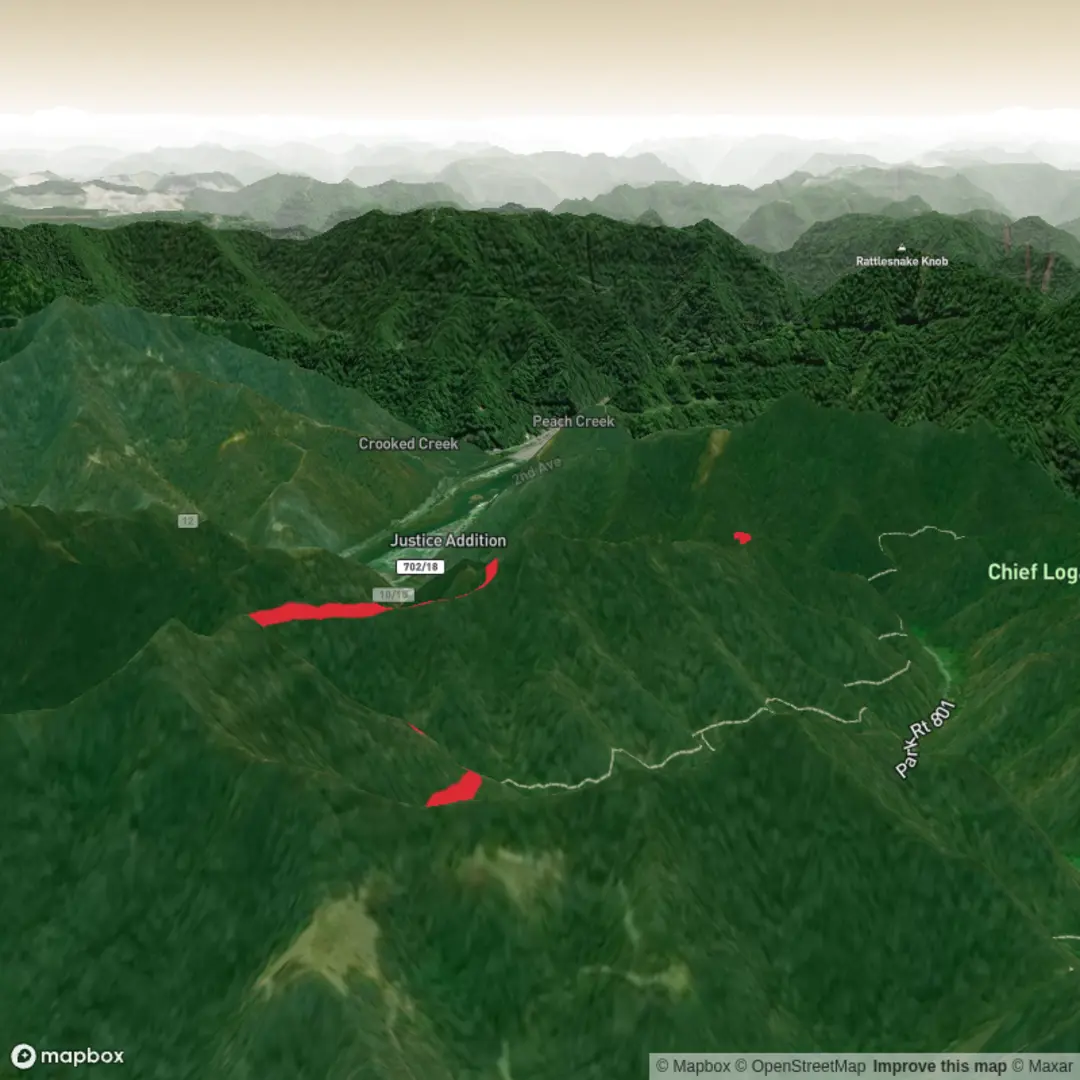
5.7 km
~1 hrs 23 min
157 m
Point-to-Point
“A brisk ridge ramble with a steady warm-up climb, breezy views, and punchy pitches.”
A roughly 6 km (3.7 mi) out-and-back or point-to-point walk with about 200 m (656 ft) of climbing is a solid “medium” outing: expect a steady warm-up climb, a rolling ridgeline feel in places, and a few short pitches that will get your breathing up without turning into a sustained grind. Plan for 2–3 hours moving time depending on stops, and bring layers—ridgelines and open slopes can feel cooler and windier than the trailhead.
Getting to the start (car + public transport)
Because the start location is listed only as “near” (no coordinates or trailhead name), the most important planning step is confirming which “Backbone Trail” you mean—there are multiple trails with this name in different regions. Once you share either (a) a lon/lat, (b) the nearest town/park, or (c) the exact trailhead name shown in HiiKER, I can convert it to the nearest known address/landmark and give precise directions and transit options.
In the meantime, here’s how to plan access once you’ve identified the correct trailhead: - By car: Most Backbone Trail trailheads are reached via a park entrance road or a signed pullout/parking lot. Arrive early on weekends; popular trailheads can fill quickly. Check whether the area requires a day-use fee or has gate hours. - By public transport: If the trailhead is near a town or a major park visitor area, you can often combine regional rail/bus to the nearest hub plus a local bus (or rideshare) to the park boundary. The last mile is frequently the limiting factor—some trailheads have no sidewalk access and limited shoulder space, so confirm the final approach before committing.
If you paste the HiiKER link (or coordinates), I’ll tailor this section to the exact stop names, routes, and the closest practical drop-off point.
What the hike feels like (distance + elevation pacing)
With ~200 m (656 ft) of gain over ~6 km (3.7 mi), the climbing typically averages out to a moderate grade, but it rarely feels “even.” A common pattern for hikes in this category is: - 0.0–1.5 km (0.0–0.9 mi): Gentle-to-moderate ascent as you leave the trailhead and gain the first bit of height. This is where you’ll want to settle into a sustainable pace. - 1.5–3.0 km (0.9–1.9 mi): The main climb usually shows up here—shorter, steeper ramps or a more continuous pull to a higher point. Expect the most elevation gain in this middle third. - 3.0 km (1.9 mi) turnaround / high point area: Often a viewpoint, junction, or a natural “pause point” (ridge, saddle, or open rock). If it’s an out-and-back, you’ll return the same way; if it’s point-to-point, this is commonly where the terrain begins to roll or descend. - Return leg: Descending 200 m (656 ft) can be harder on knees than the climb—trekking poles help, and shoes with solid grip matter if the surface is loose.
Underfoot, trails of this profile are frequently a mix of compact dirt, small gravel, and occasional rocky steps or eroded ruts. After rain, watch for slick clay-like patches and small washouts where water has cut channels across the tread.
Navigation and key junctions
Even on a well-used trail, “Backbone” routes often intersect with side paths, fire roads, or spur trails to viewpoints. Before you go: - Download the route in HiiKER for offline use. - Note junction distances (e.g., “first major junction around 1.8 km / 1.1 mi”) so you can sanity-check your progress. - If the hike type is a loop or point-to-point (your details don’t specify), confirm the return option in HiiKER—some Backbone routes have parallel tracks that look tempting but can add distance and extra climbing.
Landmarks, scenery, and what to watch for
Without the exact region, I can’t responsibly name specific landmarks, but on a 6 km Backbone-style ridge or spine route, hikers commonly encounter: - Ridge or “spine” walking: A section where the trail follows higher ground with broader views and more exposure to wind and sun. - Viewpoints and overlooks: Natural stopping points near the high point—often the best place for a snack and a weather check. - Drainages and gullies: Short dips where the trail crosses seasonal watercourses; these can be muddy after storms and are common spots for minor trail damage. - Rock outcrops or open slopes: Great for views, but they can be hotter and more exposed—carry more water than you think you’ll need for a “short” hike.
Hazards to plan for: - Sun and heat exposure: If the route is open, a 6 km hike can still feel punishing in midday sun. Bring sun protection and at least 1–1.5 L of water per person (more in hot conditions). - Loose footing on descents: Gravel-over-hardpack and small scree are common on ridge trails; take the downhill slowly. - Wind: Ridgelines can be deceptively cold even when the trailhead is warm—pack a light wind layer.
Nature and wildlife
The wildlife you might see depends heavily on the region, but medium ridge hikes commonly pass through edge habitats that support: - Birdlife: Raptors using updrafts along ridges, plus songbirds in shrubb

Surfaces
Ground
Unknown
Comments and Reviews
User comments, reviews and discussions about the Backbone Trail, West Virginia.
average rating out of 5
0 rating(s)